Popular Posts

Wednesday, August 21, 2013

How to make bird sculpture with wire and white cement


How to make bird sculpture with wire and white cement
By Wan Chwee Seng


A bird sculpture can be used to complement your plantings and landscape and even provide a focal point for your garden. 


Here are a few simple steps on how you can make your own bird sculpture.

 I have chosen the White-breasted Waterhen or ruak-ruak for my sculpture, as it is a frequent visitor to our garden and relatively easy to make because of its small size. It is helpful to look at the pictures of the bird you have chosen for your sculpture and to refer to the picture occasionally when sculpting the bird.


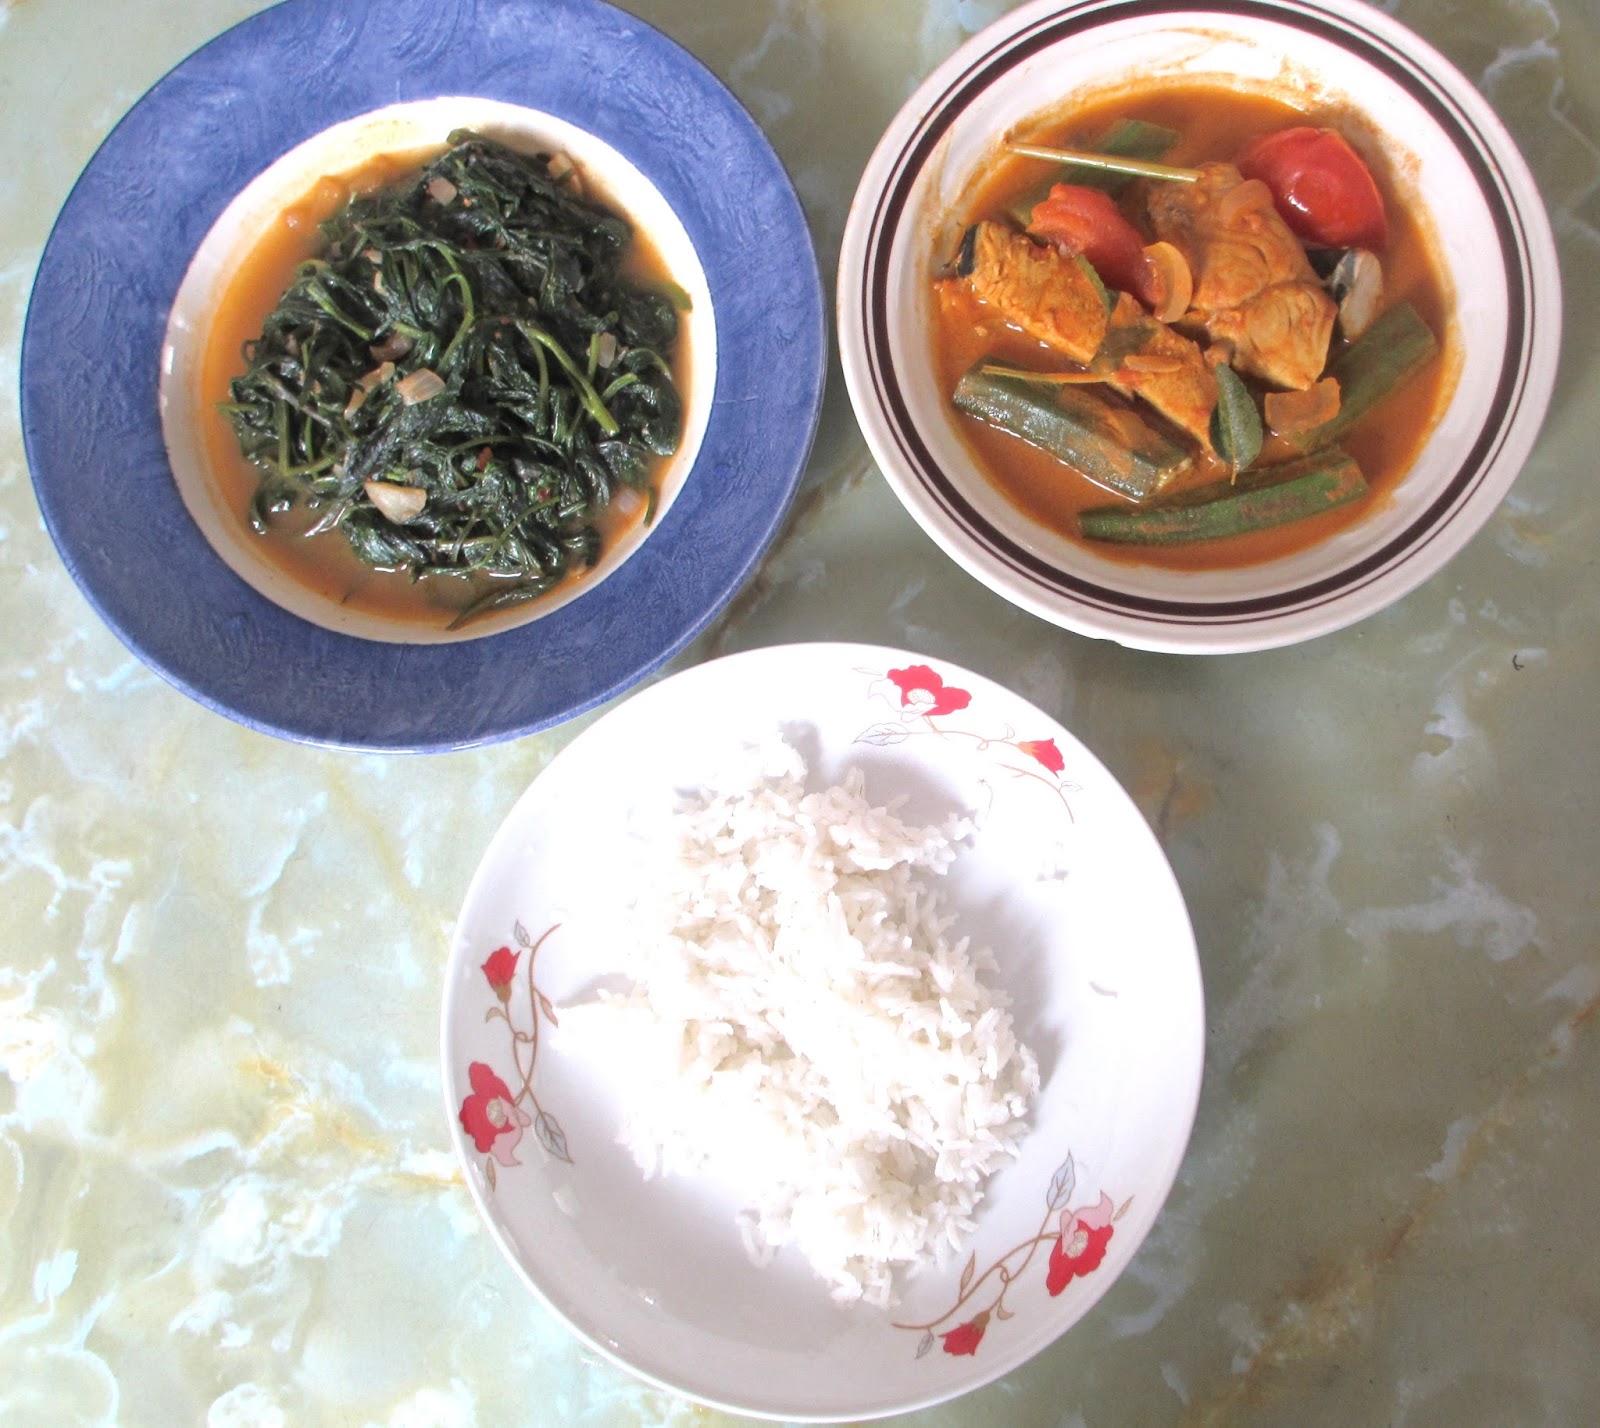
'White-breasted Waterhen' foraging for food at the edge of a man-made pond


Things you'll require


1. PVC or Vinyl covered clothes line
2. White cement
3. Welded wire mesh/ thick plastic netting
4. Flower wire or thin wire
5. Plastic eyes
6. Acrylic paint

Instructions 

1. From a coil of PVC or Vinyl covered clothes line cut 6 pieces of wire (about 1 foot or 30.48 cm in length)
2. Take 4 pieces of the wire and arrange them together. Allow one piece to project slightly, as this will be used to make the bird's beak.
3. Tie the clothes line wire securely with  thin flower wire or any thin wire at three points along the length of the  clothes line wire, as shown  below.

(i)   3 cm and 12 cm from one end of the wire

(ii) 5 cm from the other end of the wire


4. Bend the wire to form the neck and body of the bird.


5. Gently, pull the middle part of the wires slightly upwards and downwards to form the body.


6. Bend the other end of the wires to form the tail.


7.For the legs, take the other two pieces of clothes line wire and bend one end of the wire ( about 4 cm from the tip). Tie the bent end to each side of the lower portion of the wire frame. If the wire is soft, then tie two pieces of wire together to form each leg.


8. Instead of two straight legs, bend the wire at the right position and angle to depict the movement of the bird. Bend the other loose ends and tie them securely to the wire mesh which will form the base for the sculpture   


9. Fill  the body cavity with old newspaper. ( The newspaper will help to lighten the body weight of the bird). Use thin flower wire to wrap around the body frame. Make sure the body is slightly flat as it will later be filled and covered with white cement. For the bird's head attach a small piece of newspaper and wrap around it with flower wire.   The beak, neck and legs too must be tightly wound with flower wire to allow the white cement to hold together.


10. Place the wire mesh with the bird on it, in the  cover of a shoe box or any shallow container.


11. Get a plastic container eg. ice-cream box and pour some white cement into the container. Slowly, add water to the white cement and stir it until you get the right mixture that can be poured smoothly into the box. Make sure  the wet cement cover the wire mesh completely. Leave the cement to dry.
Optional: To make the base resemble the bark of a tree, let the white cement to dry partially and then use a plastic fork to score it.

A bark-like base 


12. When the base has dried completely, remove it from the box and place it preferably on a turntable (revolving tray). A turntable is useful, as you can work on your sculpture from one position without having to move round the table.  

13. Pour white cement into a small container. Slowly add water, until you get the right consistency.

14. Scoop out the wet cement with a small plastic spoon and slowly cover the whole wire frame. Sometimes you have to wait for a few minutes to let the cement take hold before continuing. At this stage do not worry unduly about the shape of the bird. When the wire framework is completely covered leave it to dry.

15.  With a plastic knife/ ice-cream stick or suitable carving tool add the wet white cement and slowly sculpt it into the shape of a bird. Sculpt the wings when the cement is partially dry.

16. Shape the head of the bird and when the cement is partially dry, press in the plastic eyes and use a bit of cement to cover the edge of the plastic.

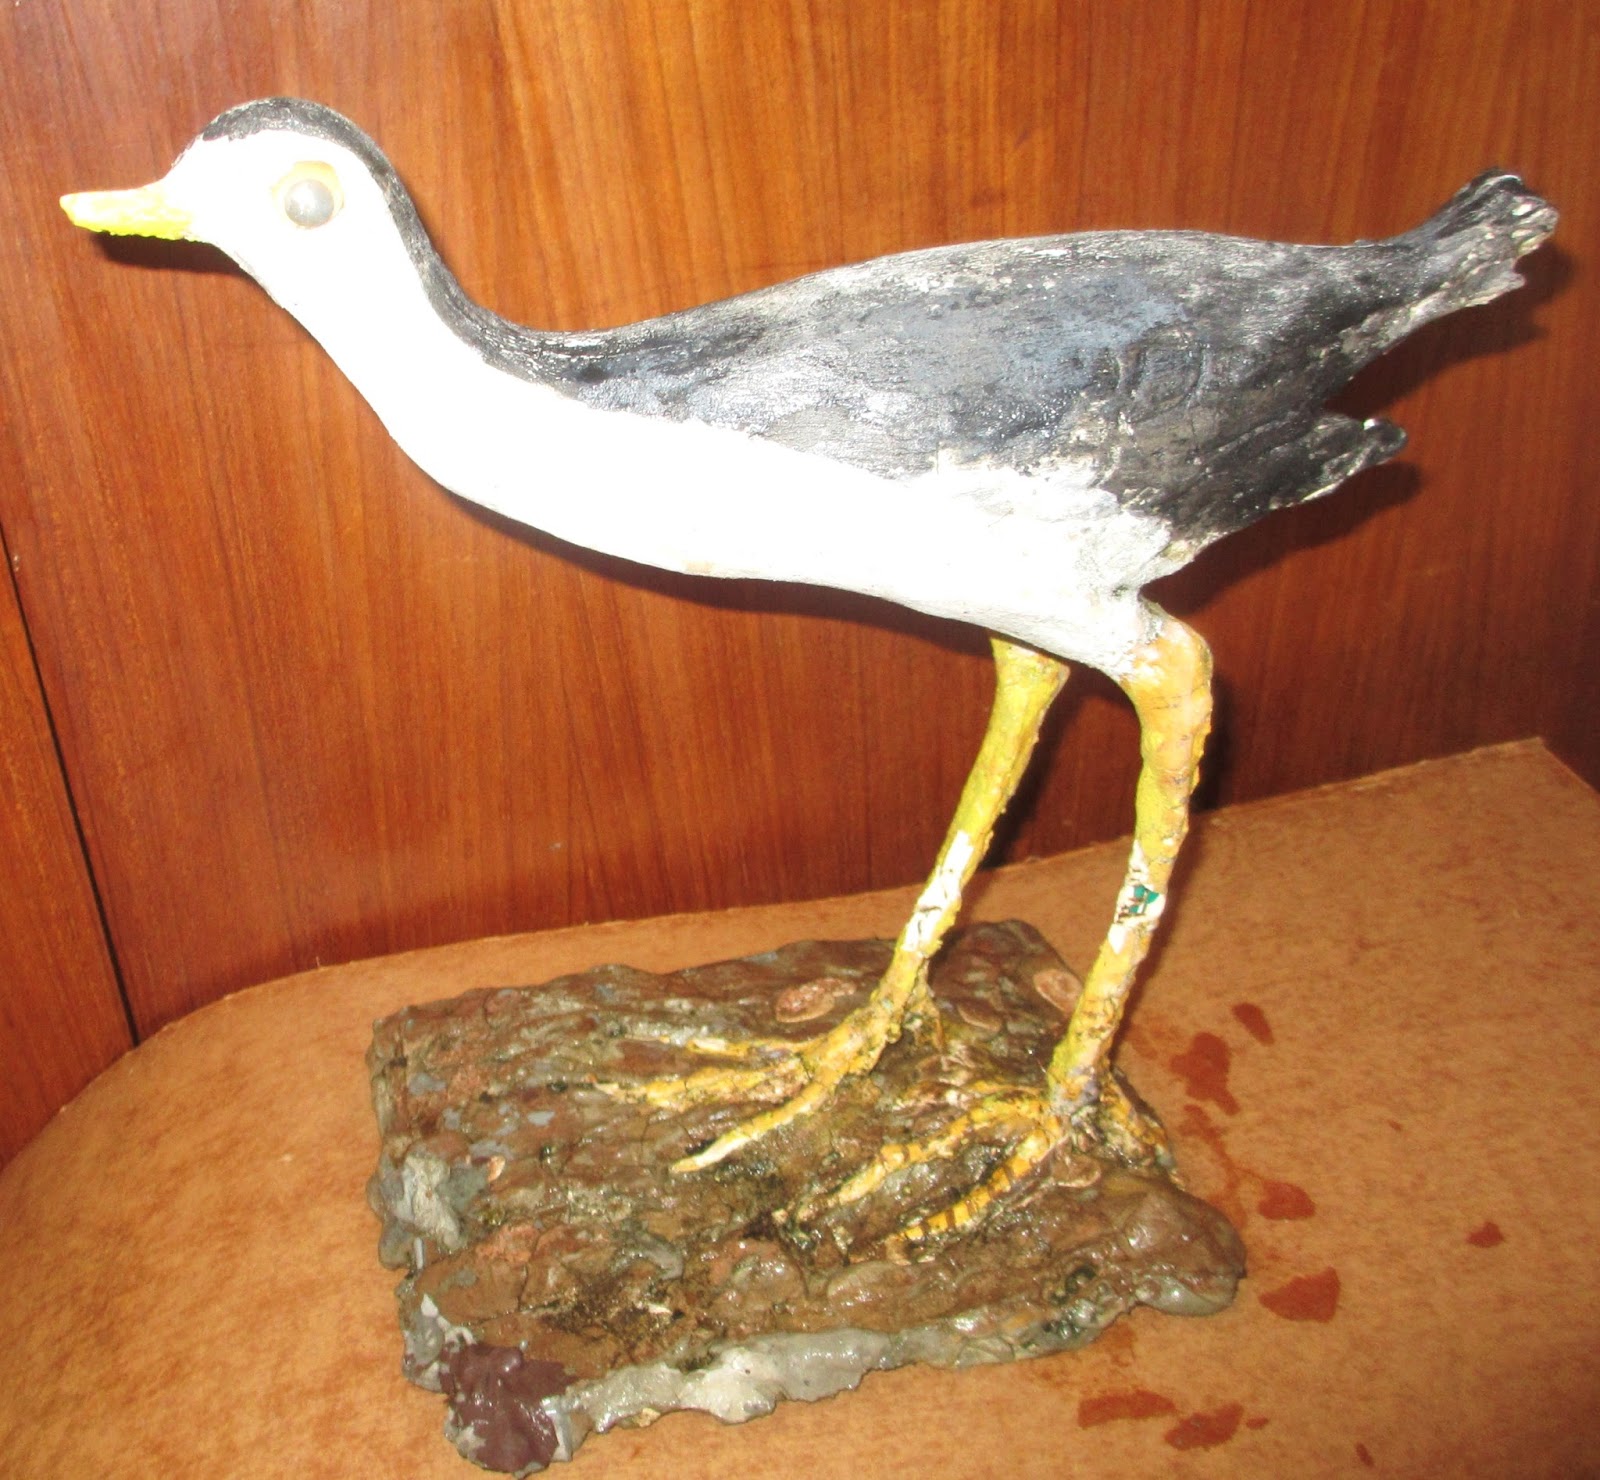
17. When the sculpture is completely dry you can smoothen it with sandpaper and paint the sculpture with acrylic paint, if required.


Below: Close-up view of White-breasted Waterhen sculptures.


Saturday, August 10, 2013

Rantau Panjang-Sungai Golok: Savouring past memories


Rantau Panjang - Sungai Golok:  Savouring past memories
By Wan Chwee Seng


The tantalising aroma of fried chicken rose from a sizzling wok  and drifted to a table where glasses of  ice-chilled syrup water were beginning to be coated with cold droplets. 

Ice-chilled syrup water

Around the marble-top table,  eight teachers sat waiting; waiting for the moment to begin their meal.

It was the holy month of Ramadan, in the early 1960s and four Muslim teachers and four non-Muslim teachers from the Rantau Panjang English school and the Malay school in Gual Periok were seated at a table in Ah Kong’s coffee shop which overlooked the town’s market square. 

Where Ah Kong's shop used to stand


Former market place, now a bus and taxi stand


 My three non-Muslim friends and I were in the company of our four Muslim friends who were waiting to break their fast. At the next table, a few customers too waited patiently. 

As we talked and laughed, we kept a discreet watch on  Hassan, our ‘tok imam’. Without T.V.  and radio  Hassan  had been entrusted with the task of determining the time for breaking  fast.  We watched and waited. From a  wooden wall came the slow measured ticking of a  clock; its minute hand seemingly stationary. Then we caught Hassan casting a glance at  the clock and when he lifted his hands in prayer, the other Muslim teachers followed suit, while the rest of us waited in respectful silence. The moment Hassan lifted the glass to his lips, it was a signal for us to begin our meal. 

Our evening meals at Ah Kong’s coffee shop was not limited to the month of Ramadan, but had become an almost  daily ritual. Every evening, as the sun began to set, the eight of us could be seen making our way along the single stretch of unpaved road from Pak Duk's shop where we stayed to Ah Kong's shop at the other end of the town.  


Rantau Panjang main road in the early 1960s, as I remember it


Rantau Panjang main road from old railway station to Lubok Setol


During the monsoon season, the laterite road was a slippery morass, pitted with potholes, but  during the dry spell it was baked dry by the scorching heat of the mid-April sun and the wind would send fine brown dust swirling into the evening air.

Once, on our way to Ah Kong’s shop we were walking past a clothes line when a gust of wind lifted it high into the air. When the  line rose higher, we realised the ’black line’  was swarm of flies that had settled closely on the clothes line. 

Ah Kong’s shop was also not spared from the flies seasonal invasion. Ah Kong would place a few thin broomsticks smeared with sugar-coated glue at strategic locations in the shop, but  the sticks would be magically transformed into thick black sticks.
 In spite of the flies, Ah Kong’s shop was well patronised by the locals as there were few eateries in Rantau Panjang  and the shop was relatively clean and served a fair selection of dishes.

Whenever, we yearned for more spicy dish we would head for Syed’s shop which was located on the main road, close to the railway station. The moment we stepped into the shop, we just called out ‘makeh’ (eat) and took our seats at the table without even bothering to place our order. Unlike today's restaurants where diners are spoilt for choice, in Syed's shop we were left with no choice.  Everyday, Syed served the same food:  fish curry, fried kangkong and rice.

Fish curry, fried kangkong and rice


 Nonetheless, his fish curry was the best in town and we would take our time to savour every mouthful of the delicious dish.


An incident in the shop still remains vivid in my mind. One day we were having our meal in Syed’s shop when a voice interrupted our conversations.

“Satu, air sirup sejuk”."One cold syrup water."

We looked up to see a young immigration officer entering the shop. He must have just  been posted to the town, as we had not seen him before. 
He paused, looked around and continued,

Tolong, basuh air batu dengan air panas.” "Please, wash the ice with hot water."

We tried hard to suppress our smiles while from the corner of my eyes I could see the faint smile on Syed’s lips. I was not certain  if Syed followed his ludicrous request. Anyway, we knew the new city kid would soon learn to adapt to life in Rantau Panjang.

Today, as I look at the sumptuous spreads that is being readied for iftar at a posh restaurant in a  hotel, it brings back memories of the time when I used to accompany my Muslim friends to break fast in Ah Kong’s coffee shop.  It was just a simple fare, eaten in the austere setting of a small kampung shop ,yet after each meal  I could see the look of gratitude on their faces.
I have since lost contact of my Rantau Panjang friends, but  I will always cherish their friendship  _ a friendship  fostered through years of working, playing, eating together and living under the same roof.

Notes: Photos( taken in 2011) courtesy of Lt. Col.(Rtd.) Ojang Abdul Rahman

Thursday, August 8, 2013

Toys of yesteryear: How to make a propeller from rubber seed and an ice-cream stick


Toys of yesteryear: How to make a propeller from rubber seed and an ice-cream stick.
By C S Wan

In the mid 1950s we stayed in a small village in Batu Berendam, Melaka. Behind my grandpa's house there was a huge rubber tree where my cousins and I would often gather to share our food. We would sometimes gather the fallen rubber seeds and use them for our games or  toys. I remember one of the toys we used to make was a propeller. 

Here is a brief instructions on how to construct the propeller.


Materials required

1. Rubber seed
2. An ice-cream stick
3. A short satay stick or thin cylindrical stick.
4. A piece of string

Instructions

1. Make holes at the top, bottom and one side of a rubber seed. (fig.1)
2. Dig out the kernel of the rubber seed.
3. Tie a string at the centre of a short satay stick. (fig.2)
4. Attached an ice-cream stick securely at the top end of the satay stick.
 5. Insert the stick from the top of the seed and let the free end of the string pass through the side hole. Make a loop at the end of the string.
6. Hold the rubber seed firmly in one hand. Hook a finger through the loop so that the string does not slip through the hole.
7. With the other hand, slowly rotate the propeller so that the string will wind round the satay stick.
8. Pull the string and the propeller will rotate in one direction. It is important to pull the string half way through only and then release it, so that the string will rewind round the stick. Pull the string again and the propeller will rotate in the opposite direction. Systematic pulling and releasing of the string will allow the propeller to rotate continuously.

Read related article

'Bonds that last a lifetime' in Archives 

http://theperanakanconnection.blogspot.com/2009_09_01_archive.html


Saturday, August 3, 2013

Toys of yesteryear: How we made dolls, tops and toy guns


Toys of yesteryear: How we made dolls, tops and toy guns. 
By CS Wan

Today, as I watch my grandchildren play with their Barbie dolls and battery-operated trains, they bring back memories of the toys, my siblings and I used to play with when we were kids. 
In the early 1950s, we stayed in the Residential Area in Kuala Pilah and like most kids in the neighbourhood we usually made our own toys. The toys were fashioned from discarded materials, recycled items or sourced from plants that were found in our neighbourhood. 
I remember, my sisters used to play with dolls that were made from the remnant of fabric. They would roll two pieces of rectangular cloth and tie the two pieces of rolled cloth together with a thread to form a cross. The dresses for the dolls were then  fashioned from the remnant of  other fabric. 


While my sisters played with their dolls, my brother and I would play with our tops and toy guns. I remember our first top was made from an areca nut. The head of a nail was cut off with a pair of pliers and then the nail was hammered into the bottom end of an areca nut. Later, we learned how to make  more 'sophisticated' tops from the branch of a guava tree.


Other than tops, we also made toy guns from bamboo which we sourced from a hedge that ringed the teachers' quarters. Once the 'guns' were ready, a 'gun-fight' would ensue, with my sisters joining in the fun. Above the sound of boisterous shouts, laughter and pops, there came a more audible voice  from a nearby kitchen.

"Kena mata, baru tau." ( It'll get your eyes, then you'll know). 

Mother's  warning just fell on deaf ears,as we continued  on with our games.


Here is a brief instructions on how to construct the bamboo gun


Materials required

1. A hollow bamboo stem 
2. A solid bamboo stick
3. Berries ( buah cenarai) or newspaper

Instructions

1. Get a thin, hollow bamboo stem about 30cm long.
2. Get a solid bamboo stem  about 40cm long that can fit perfectly into the hole or get a solid bamboo rod and whittle it to the correct size.  
 3. Get a hollow bamboo about 10cm long and make a handle for the rod. Make sure the top end of the handle has a knot.
4. Place a berry ( buah cenarai) at one end of the hollow stem and with the top end of the handle, gently tap it in.


5.  With the end of the rod push the berry (buah cenarai) slightly into the hollow bamboo. Withdraw the rod slightky  and then give it a hard push.
The berry will come out at the other end of the hollow bamboo with a big ’pop’. 
6. If berries are not available, you can use old newspaper. Soak small pieces of the paper in water and then roll them into small balls.   

Hope to post another article on toys of yesteryear..
Until then thanks for visiting this blog.